
728x90
오늘은 이미지에 관해서 소개해 드리겠습니다. 다음은 이미지"straw"를 불러오는 코드입니다.
PImage img;

void setup(){
size(600,400);
img=loadImage("straw.JPEG");
image(img,0,0);
}

void draw(){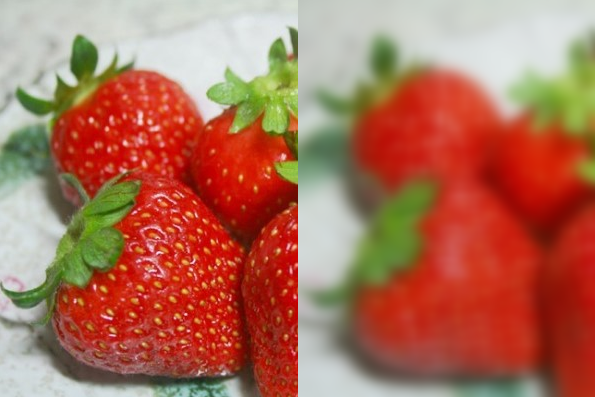
}아래는 이미지를 블러함수를 사용하여 블러링하는 것입니다.
PImage img1, img2;

void setup() {
  size(600,400);
  img1 = loadImage("straw.JPEG");
  img2 = loadImage("straw.JPEG");
  img2.filter(BLUR, 6);
}

void draw() {
  image(img1, 0, 0);
  image(img2, width/2, 0);
}
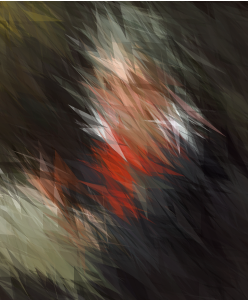
다음은 수업을 응용하여 블러처리해본 베토벤의 초상화입니다.
PImage img;
int area = 40;

void setup() {
  size(250, 300);
  background(255);
  noStroke();
  smooth();
  frameRate(100);
  img = loadImage("bethoben.jpeg");
}

void draw() {
  while (frameCount <= 1000000) {
    betho();
    frameCount = frameCount + 60;
  }
}

void betho() {
  int x = int (random(img.width));
  int y = int(random (img.height));

  int loc = x+y*img.width;
  fill(img.pixels[loc], 100);

  triangle(x, y, x+random(area), y+random(area), x-random(area), y-random(area) );
}
void mousePressed() {
  background(255);
  for (int i=0; i<50; i++) {
    drawpic();
  }
}
void drawpic() {
  frameRate(10);
  float circleSize = 7;
  float radius = 30;
  float x = random(width);
  float y = random(height);
  fill(random(100, 255), random(25, 200), random(150, 255), 100);
  stroke(100, 100);
  line(width/2, height/2, x, y);
  noStroke();
  ellipse(x, y, random(30, 60), random(30, 60));
  colorMode(HSB, 360, 255, 255);
  for (float i=0; i<PI*2; i+=PI/10) {
    fill(degrees(i), 200, 255, 50);
    ellipse(cos(i)*radius+x, sin(i)*radius+y, circleSize, circleSize);
  }
}
728x90
'Processing' 카테고리의 다른 글
| [Processing] 정보와 예술개론_픽셀 (0) | 2022.10.01 |
|---|---|
| [Processing] 정보와 예술개론_마우스,키보드 인터랙션 (0) | 2022.10.01 |
| [Processing] 정보와 예술개론_배열을 활용한 움직이는 원 (0) | 2022.10.01 |
| [Processing] 정보와 예술개론_그림그리기의 기초, 선에 관하여 (0) | 2022.10.01 |
| [Processing] 정보와 예술개론_자신의 그림 그리기 (0) | 2022.10.01 |